
Setting Up A Jekyll Blogging Workflow
When I decided to start blogging my first order of business was to select the tools or platform I wanted to use for my blog.
After asking around and doing some research I found that some of the most popular hosted blogging options were WordPress, SquareSpace, Medium, GitHub Pages, and Ghost. While I’m sure any of these tools would have worked well I couldn’t shake the urge to get my hands dirty setting up something of my own. I wanted to find a solution that was flexible, lightweight, and would give me the opportunity to do some deeper learning about software development, testing, and deployment. I firmly believe that there is no better way of learning than doing.
After laying out my requirements and investigating some of my options I settled on a blogging workflow using: Jekyll, Git, GitLab, Docker, GitLab Runner, Rsync, SSH, and a Web server. I could write a post about each of these tools individually but I want to focus this post on a high-level overview of how I integrated each component into my blogging workflow.
Jekyll
The corner stone of my blog is Jekyll. Jekyll is probably the best known among the selection of static site generators that have become popular over the last decade or so. Jekyll’s popularity is, at least in part, due to its adoption by GitHub as the backend for its GitHub Pages feature.
Jekyll is a Ruby program that outputs a static website site from YAML configuration files, html templates, and markdown formatted posts, along with other assets such as javascript, fonts, and images. It is super easy and extremely lightweight.
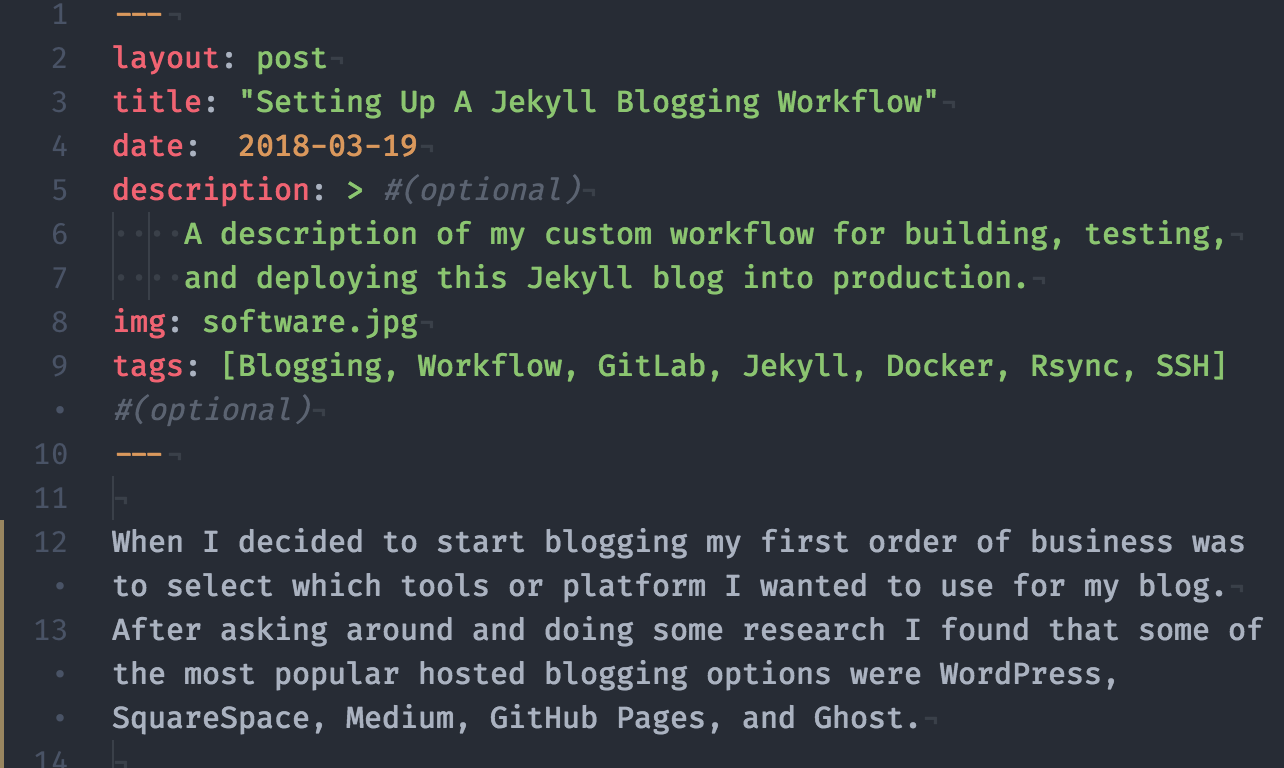 Editing this post in markdown
Because Jekyll sites are not dynamically generated by a server-side program they are generally performant and easy to deploy. One can quickly generate Jekyll sites on a local workstation by running the following in a Jekyll project directory:
$ jekyll new
$ jekyll build
Running this command will generate a _site directory which contains a fully assembled website.
For local development purposes Jekyll even includes the extremely useful
$ jekyll serve
This command serves the site locally so it can be accessed in a browser at http://127.0.0.1:4000/. Adding the --watch flag additionally causes Jekyll’s build function to watch the project’s directory and rebuild the site automatically each time a file is created/updated.
This makes it easy to preview the rendered site while drafting new posts or making site-wide configuration changes.
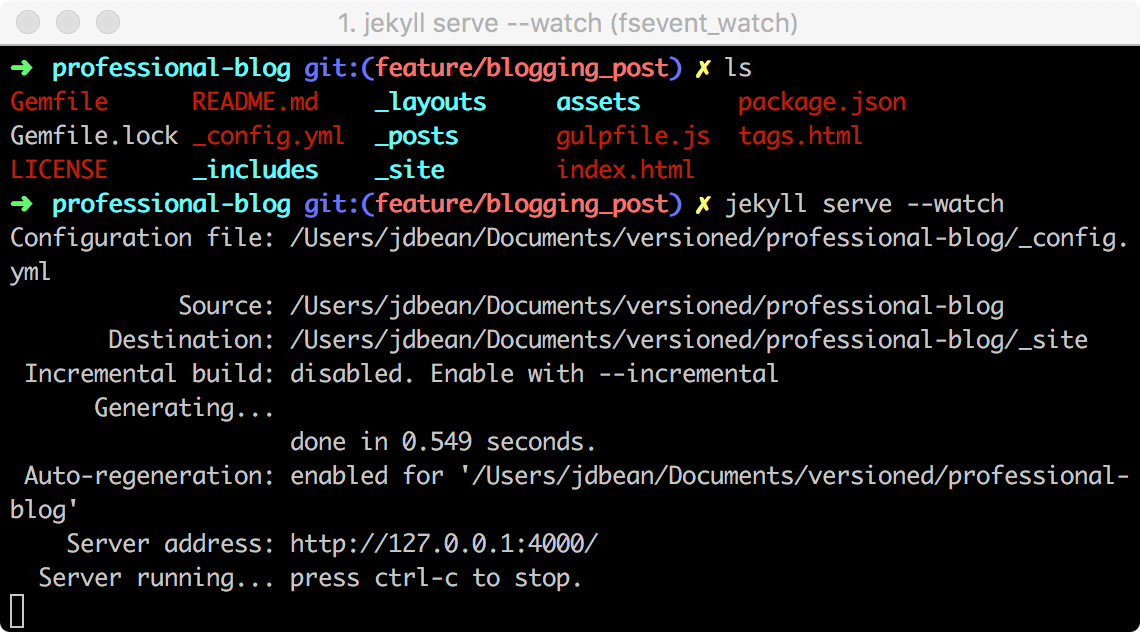 Serving the site locally
To bootstrap my site, I selected one of the many beautiful open source Jekyll themes, made a few tweaks to the CSS and HTML to suit my preferences, and filled out some basic configuration in _config.yml.
Along with a web server to upload the site to, I had a great blogging platform set up and ready to go in no time.
Git / GitLab
Once I had the fundamentals of my site taken care of I started thinking about what I could do to make my blog and my blogging workflow as professional and flexible as possible. It was an obvious next step to manage my blogging workflow through a Git repository in order to gain the benefits afforded by a version control system (VCS). I draft new blog posts or work on site-wide changes in feature branches until they are ready to merge.
In order to be able to work on my blogs from different computers I decided to upload my Git repository to a Git server. While something like GitHub would have worked well, I am already running a self-hosted GitLab server in my home lab which is a perfect fit for the job. GitLab is a really fantastic company which, in addition to providing a hosted service at GitLab.com, also offers enterprise and personal versions of its software for users to self-host. Along with simply serving as an always-on host for my Git repository, GitLab has a ton of project management features that are useful for organizing my blogging such as git-integrated issue management and a wiki for documentation.
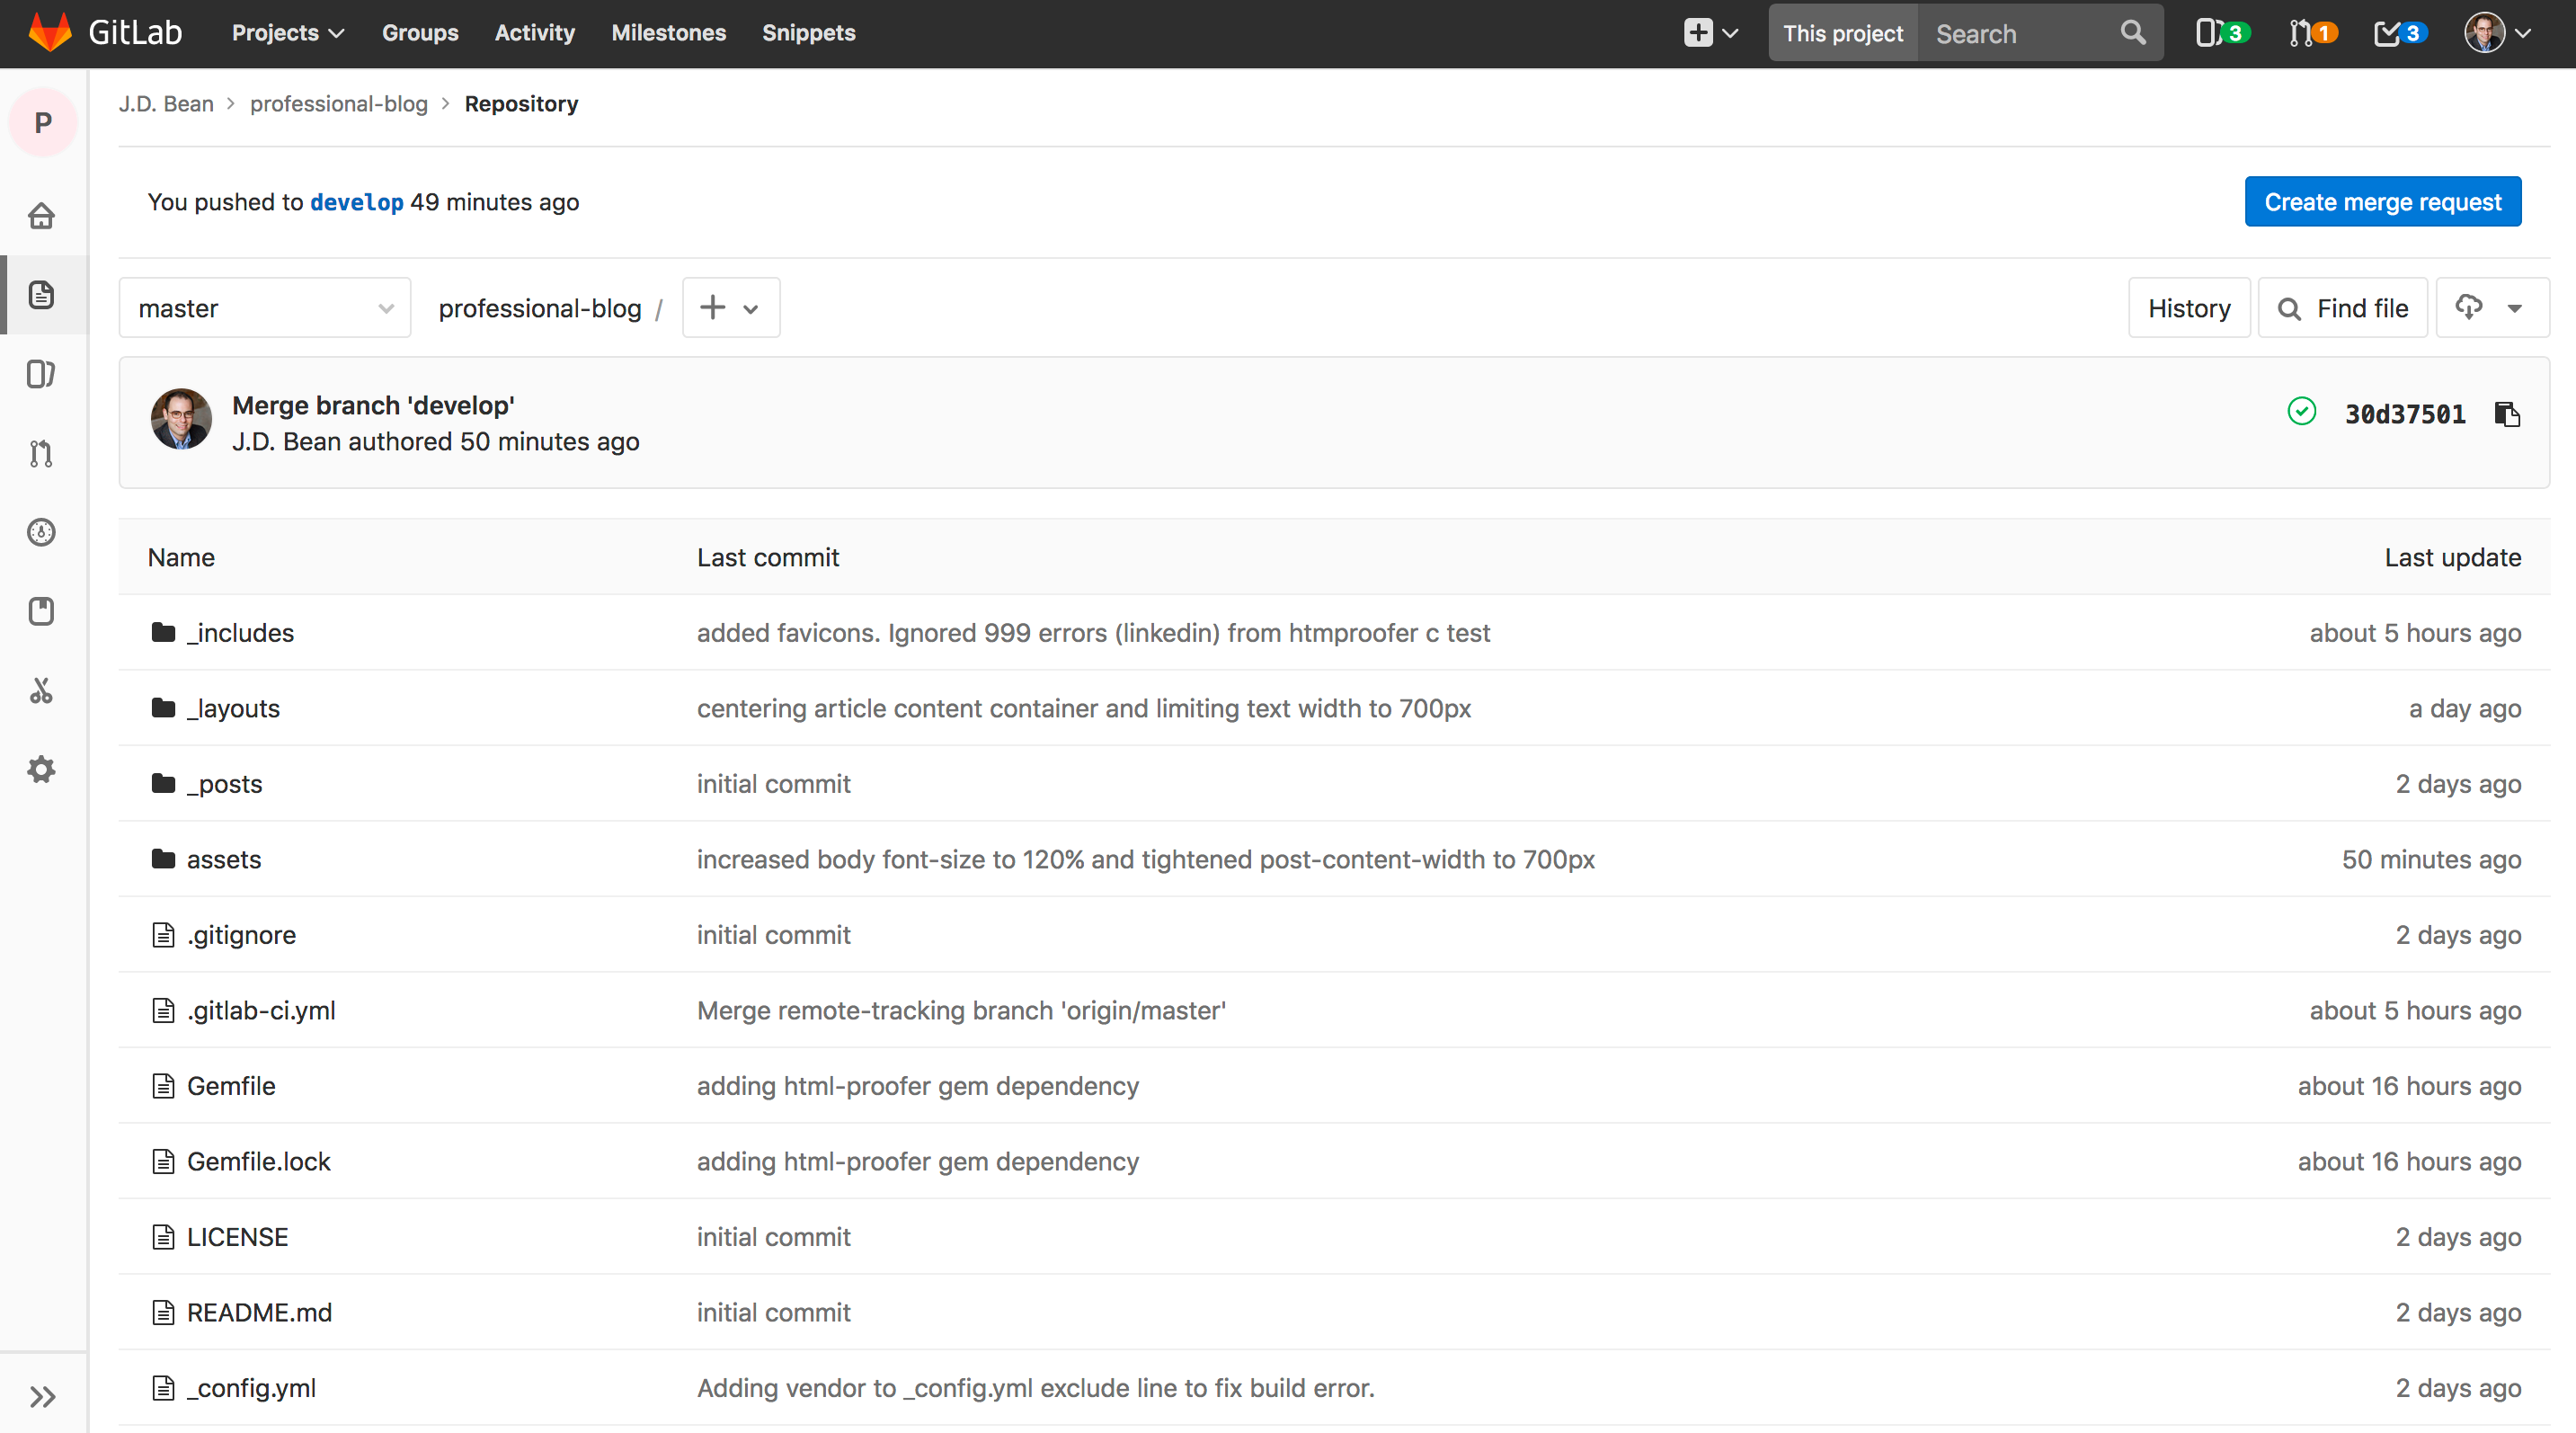 The blog’s repository on my GitLab server
CI/CD
One of my favorite features of GitLab is its continuous integration / continuous delivery tools.
These tools allows me to easily integrate the process of building, testing, and deploying my blog with Git.
In order to get this integration set up all I needed to do was to create the following simple YAML file, .gitlab-ci.yml in the root directory of my site’s repository:
image: jekyll/builder

variables:
  JEKYLL_ENV: production

cache:
  paths:
   - vendor/
   - var/lib/apt/

build:
  stage: build
  before_script:
  - bundle install --path vendor
  script:
  - bundle exec jekyll build -d _site
  artifacts:
    paths:
    - _site
  only:
  - master
  - develop

test:
  stage: test
  before_script:
  - bundle install --path vendor
  script:
  - bundle exec htmlproofer ./_site --http-status-ignore "999"
  artifacts:
    paths:
    - _site
  only:
  - master
  - develop

deploy_staging:
  stage: deploy
  environment: staging
  before_script:

  ## Install ssh-agent if not already installed, it is required by Docker.
  ## (change apt-get to yum if you use an RPM-based image)
  ##
  - 'which ssh-agent || ( apt-get update -y && apt-get install openssh-client -y )'

  ## Install rysnc if not already installed
  - 'which rsync || ( apt-get update -y && apt-get install rsync -y )'

  ##
  ## Run ssh-agent (inside the build environment)
  ##
  - eval $(ssh-agent -s)

  ##
  ## Add the SSH key stored in SSH_PRIVATE_KEY variable to the agent store
  ## We're using tr to fix line endings which makes ed25519 keys work
  ## without extra base64 encoding.
  ## https://gitlab.com/gitlab-examples/ssh-private-key/issues/1#note_48526556
  ##
  - echo "$SSH_KEY" | tr -d '\r' | ssh-add - > /dev/null

  ##
  ## Create the SSH directory and give it the right permissions
  ##
  - mkdir -p ~/.ssh
  - chmod 700 ~/.ssh

  ##
  ## Add remote pub keys (SSH_KNOWN_HOSTS) to known_hosts
  ##
  - echo "$SSH_KNOWN_HOSTS" > ~/.ssh/known_hosts
  - chmod 644 ~/.ssh/known_hosts

  script:

  ##
  ## Deploy the staging directory to the staging server
  ##
  - rsync -avz --delete -e ssh --progress -r _site/ "$SITE_USER_AND_ADDRESS"

  only:
  - develop

deploy_prod:
  stage: deploy
  environment: production
  before_script:
  - 'which ssh-agent || ( apt-get update -y && apt-get install openssh-client -y )'
  - 'which rsync || ( apt-get update -y && apt-get install rsync -y )'
  - eval $(ssh-agent -s)
  - echo "$SSH_KEY" | tr -d '\r' | ssh-add - > /dev/null
  - mkdir -p ~/.ssh
  - chmod 700 ~/.ssh
  - echo "$SSH_KNOWN_HOSTS" > ~/.ssh/known_hosts
  - chmod 644 ~/.ssh/known_hosts
  script:
  - rsync -avz --delete -e ssh --progress -r _site/ "$PROD_SITE_USER_AND_ADDRESS"
  only:
  - master
While it can be a little overwhelming at first, this file was surprisingly easy to configure. The CI config sets up three types of jobs for the repository which are executed by my Docker install and another program called GitLab Runner. Each time a commit is merged into a specified Git branch such as master or develop GitLab instructs GitLab Runner to execute these jobs on the new version of my code.
The first job builds my site by cloning its repo into a new Docker container pre-configured with the necessary tools like Ruby and the Jekyll Gem.
Once the site has been cloned, the job container runs bundle install and then runs the Jekyll build command.
In order to speed up subsequent jobs, the installed Gems are cached between jobs so that they do not need to be downloaded from Rubygems.com and installed each and every time a job is run.
If the build finishes successfully the complete assembled website is sent back to GitLab for reference and the next job is run.
The second job is the test job. This job spins up a new Docker Container but this time instead of building the site it executes the HTMLProofer command, a ruby utility which runs a set of tests to validate the site’s HTML by, for example. checking for invalid internal/external links. If the test job passes then the third job runs.
The third job is the deploy job which is responsible for deploying my code to a live website. In the case of commits to the develop branch the deploy job’s target site is a staging environment (a password-protected site I can use to preview changes and share with friends to get feedback) and in the case of the master branch the deploy target is the production environment (the site you are likely reading this on right now). In order to complete its tasks, the build job has access to the following special secret variables:
$SSH_KEY- A Private SSH Key trusted by web server,
$SSH_KNOWN_HOSTS- The public-key for my web server.
$SITE_USER_AND_ADDRESS/$PROD_SITE_USER_AND_ADDRESS- The appropriate site’s remote username and the address of its web server.
This sensitive data is stored by GitLab and only provided to the Runner to ensure that it is never inadvertently exposed.
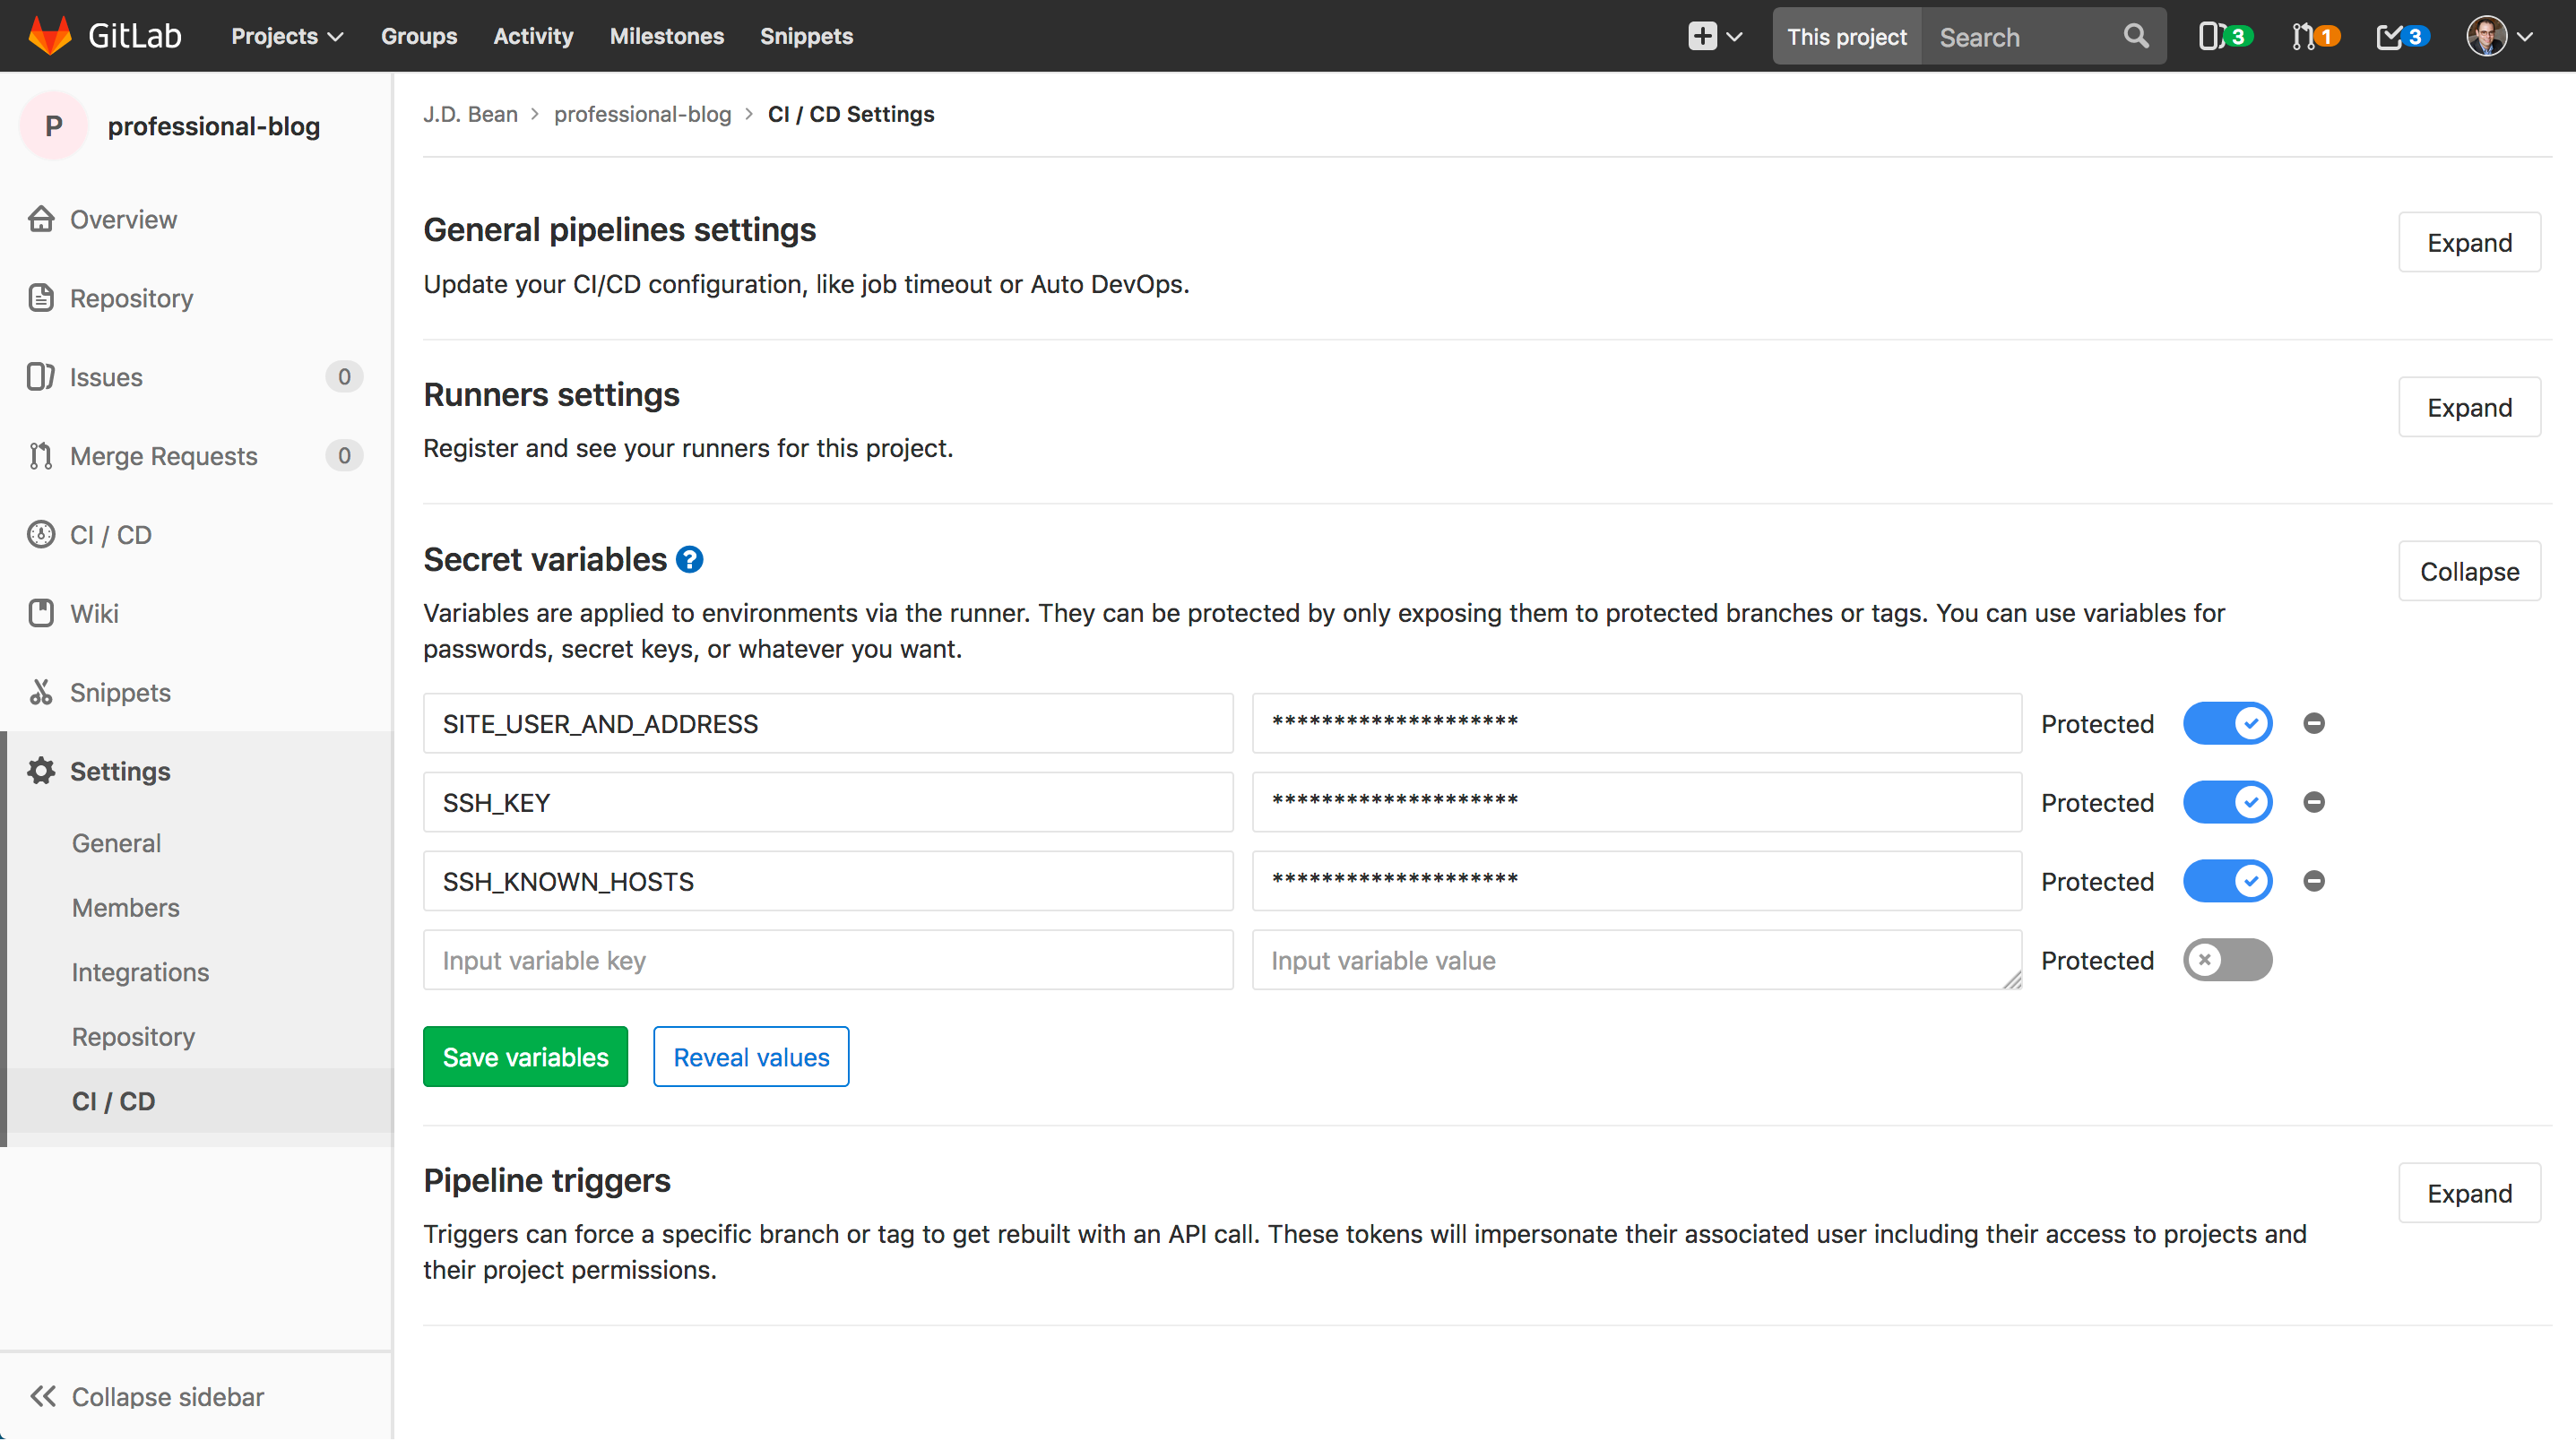 GitLab CI/CD secret variables settings
The deploy job uses this data to configure SSH to securely access the site’s remote web server and uses Rsync to efficiently ensure that the web server’s copy of the site is identical to the one built by the build job. Rsync transmits only new or updated site files from the build process to the web server and deletes any files on the web server which are no longer needed.
Thanks to these jobs, when I merge feature branches into my remote development branch the site is built, validated, and deployed to a staging site automatically. Logs from the job are stored in GitLab and I am alerted immediately of any failures via slack/email. Once I’ve reviewed my site in the staging environment, deploying to production is as simple as merging the development branch into master. If at any point something should slip into production that does not belong there, I can rollback to any prior deploy state with a single click of a button.
 GiLab CI/CD Pipeline Overview
Final Thoughts
I think it’s fair to say that my setup may be a bit over-engineered for the task at hand but it was a really fun experience to set up and gave me an excuse to practice some important skills and to learn more about using a few tools that I expect will come in handy as I begin developing and deploying more complex applications of my own.
The toolchain I employ gives me the following benefits over some/all of the alternatives I considered:
- Complete control over the entire blogging process.
- An opportunity to learn about development and web technologies.
- A reproducible and consistent build environment.
- My site is lean and static.
- The ability to test my site and deploy it to a staging environment before deploying in to production.
- Based entirely in plain text which allows me to utilize familiar development tools such as version control and editors.
- The ability to write from any machine without the need to set up a local build environment.
- A centralized and automated deployment process.
- The satisfaction of “rolling-my-own”.
I’m very happy with this site and my blogging process. Now all I have to do is keep posting!